
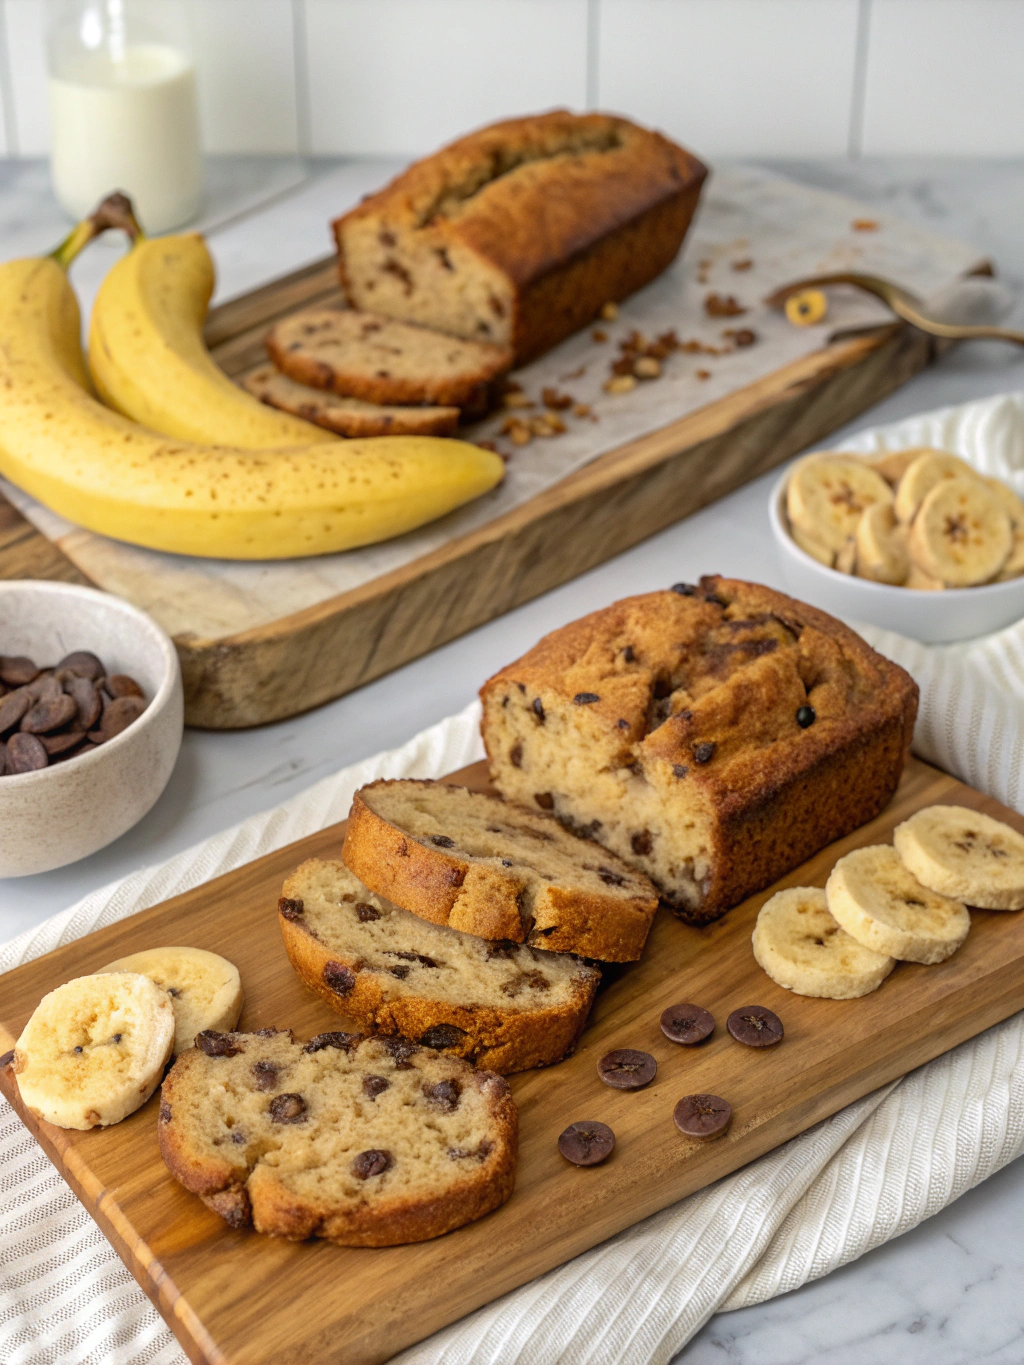
Let’s be honest, we’ve all been there. You’re staring into your fruit bowl, and those once-perfect bananas have morphed into mushy brown missiles. Do you toss them? Never! Because today, we’re turning those sad, spotty bananas into something utterly delicious: Banana Bread Meets Cookie! Forget the guilt of letting them go bad – we’re diving into 7 fantastic ways to transform your overripe bananas into soft, delightful cookies – perfect for breakfast, a snack, or even a sneaky dessert. We’re talking banana chocolate chip cookies, banana oat cookies, and everything in between. Ready to bake your way out of banana-related despair? Let’s go!
Ingredients List: The Banana Foundation
The beauty of these recipes is their flexibility. A base of overripe mashed bananas is your star, but these are your supporting cast:
- Overripe Bananas: 3-4, the browner, the better! (About 1 ½ cups mashed) – Seriously, like, really ripe. Think near-black.
- Flour: 1 ½ cups all-purpose flour (and variations for gluten-free options below!)
- Sugar: ¾ cup granulated or brown sugar (a mix? Even better!)
- Butter: ½ cup (1 stick) unsalted, softened
- Eggs: 1-2 large (depending on how moist you want them)
- Baking Soda: 1 teaspoon – crucial for that fluffy texture!
- Cinnamon: ½ teaspoon (or more, if you’re a cinnamon fanatic like me!)
- Vanilla Extract: 1 teaspoon – don’t skip this!
- Optional Mix-Ins: Chocolate chips (dark, milk, or white – your call!), chopped nuts (walnuts, pecans, or even macadamia!), dried fruit (raisins, cranberries), oats (for extra texture and that banana oat cookies vibe!).
Substitution Station:
- Flour: We’ll cover gluten-free options in the ‘Healthier Alternatives’ section, but almond flour or a gluten-free 1:1 blend can work.
- Sugar: Honey or maple syrup can substitute for up to half the sugar, but reduce liquids slightly (see FAQs).
- Butter: Coconut oil or applesauce can be used for a lower-fat option, but the texture will be slightly different.
Timing: From Bowl to Bliss
Let’s get real – who has hours to spend baking? These recipes are designed to be relatively quick.
- Prep Time: 10-15 minutes (mostly just mashing those bananas!)
- Bake Time: 10-15 minutes per batch (oven temperatures vary, so keep an eye on them!)
- Total Time: 30-45 minutes – that’s less time than it takes to order takeout!
Step-by-Step Instructions: Baking Like a Pro (Even if You’re Not!)
Step 1: Mash Those Bananas!
Seriously, go all-in. Get them really mashed. Lumps are the enemy. I like to mash them right in the mixing bowl – less cleanup!
Step 2: Cream the Butter and Sugar
With an electric mixer (or some serious elbow grease), cream together the softened butter and sugar until light and fluffy. This step is essential for incorporating air into the dough. Don’t rush it! You’re aiming for a pale, creamy texture.
Step 3: Add the Eggs and Vanilla
Beat in the eggs one at a time, then stir in the vanilla extract. Make sure each egg is fully incorporated before adding the next.
Step 4: Dry Ingredient Time
In a separate bowl, whisk together the flour, baking soda, and cinnamon. This ensures the baking soda is evenly distributed, which is key for a good rise.
Step 5: Combine Wet and Dry (Gently!)
Gradually add the dry ingredients to the wet ingredients, mixing until just combined. Overmixing develops the gluten in the flour, which can lead to tough cookies. A few streaks of flour are okay!
Step 6: Stir in the Banana Magic
Fold in the mashed bananas until evenly distributed. This is where your cookies get their signature flavor and moisture.
Step 7: Add Your Mix-Ins & Bake
Stir in your chocolate chips, nuts, or dried fruit. Drop by rounded tablespoons onto a baking sheet lined with parchment paper. Bake at 350°F (175°C) for 10-15 minutes, or until the edges are golden brown. Let them cool on the baking sheet for a few minutes before transferring them to a wire rack to cool completely (if you can resist!).
Nutritional Information (Approximate, per cookie – will vary based on ingredients)
- Calories: 150-200
- Fat: 8-12g
- Carbohydrates: 20-25g
- Protein: 1-2g
- Fiber: 1-2g
Data sourced from USDA FoodData Central. Actual values may vary.
Healthier Alternatives for the Recipe: Guilt-Free Goodness
Want to enjoy these cookies without the sugar rush? Here’s how to tweak them:
- Gluten-Free: Substitute with a gluten-free 1:1 flour blend or use almond flour.
- Lower Sugar: Reduce the sugar by ¼ cup and add a tablespoon of applesauce for extra moisture. Stevia or erythritol can also be used (adjust to taste).
- Whole Wheat: Replace half of the all-purpose flour with whole wheat flour for added fiber.
- Oats! Add 1/2 cup of rolled oats to the dough for extra fiber and a chewier texture – boosting that banana oat cookies vibe.
Serving Suggestions: Beyond a Simple Snack
These cookies are delicious on their own, but here’s where things get fun:
- Warm with Ice Cream: A classic for a reason!
- Drizzled with Chocolate: Elevate them with a melted chocolate ganache.
- With Coffee or Tea: The perfect pairing for a cozy afternoon.
- As a Breakfast Side: A satisfying way to start the day! Sprinkle with chia seeds for added nutrients.
- Crumbled on Yogurt: A surprisingly delicious topping!
Common Mistakes to Avoid: Don’t Be a Baking Disaster!
- Not Using Ripe Enough Bananas: Seriously, the riper, the better. Green bananas = sad cookies.
- Overmixing the Dough: Remember, gentle is key!
- Baking Too Long: Keep a close eye on them – cookies can go from golden to burnt in a flash.
- Using Cold Butter: Softened butter is crucial for proper creaming. Take it out of the fridge at least 30 minutes before you start baking. IMO, this is the biggest baking mistake people make.
Storing Tips for the Recipe: Extend the Deliciousness
- Room Temperature: Store in an airtight container at room temperature for up to 3 days.
- Freezer: Freeze cooled cookies in an airtight container for up to 2 months. Thaw at room temperature.
- Freezer-Friendly Dough: Portion out cookie dough balls onto a baking sheet, freeze until solid, then transfer to a freezer bag for easy baking later.
Conclusion: Your Banana Transformation is Complete!
There you have it – seven fantastic ways to put those overripe bananas to good use! From classic banana bread meets cookie combinations to healthier tweaks and creative serving suggestions, you now have the power to turn banana sadness into baking bliss. I hope these recipes bring as much joy to your kitchen as they’ve brought to mine. Now go forth and bake!
FAQs: Your Baking Questions, Answered!
- Can I use frozen bananas? While fresh, mashed bananas are preferred, you can use frozen bananas. Thaw them completely and drain off any excess liquid beforehand.
- Can I substitute applesauce for the eggs? Yes! Use ¼ cup of applesauce per egg. This will make the cookies softer and slightly denser.
- What if I don’t have baking soda? Unfortunately, baking soda is essential for the rise. You can’t really substitute it. Try to get some!
- My cookies are too dry. What did I do wrong? You either overbaked them, used too much flour, or not enough bananas! Double-check your measurements and baking time next time.
- Can I add spices besides cinnamon? Absolutely! Nutmeg, ginger, or even a pinch of cloves would be delicious.
Enjoyed this recipe? Don’t forget to leave a comment below and let me know how yours turned out! Want more delicious baking ideas? Check out [Link to related recipe post – e.g., “Ultimate Chocolate Chip Cookie Guide”]!
