
I’ll never forget my grandmother’s banana pudding. It was legendary. Layer upon layer of creamy vanilla custard, Nilla wafers, and perfectly ripe bananas. It was the centerpiece of every family gathering. But my cousin, Liam, has a fierce banana allergy. Could we enjoy that same nostalgic joy without the bananas? Absolutely! Enter: Biscoff Banana Pudding without the Bananas. It’s a revelation, trust me. This dessert captures all the comforting, familiar vibes of the original, but with a glorious, spiced twist thanks to the iconic Biscoff cookies. It’s rich, creamy, and utterly irresistible.
Why You’ll Fall in Love with This Recipe
Let’s be honest, banana pudding is a classic for a reason. But sometimes, you need a twist. This recipe delivers on so many levels:
- No Banana Drama: Perfect for those with allergies or simply those who aren’t banana fans.
- Biscoff Magic: The Biscoff cookies add a warm, caramel-cinnamon flavor that elevates the entire dessert. It’s an instant upgrade!
- Easy to Make: Seriously! This recipe is incredibly straightforward, even for beginner bakers.
- Impressive Presentation: The layered look is beautiful and feels instantly special. It’s ideal for potlucks or dinner parties.
- Creamy Goodness: We’re talking a luscious vanilla custard that is unbelievably smooth and decadent.
- Crowd-Pleaser: Be prepared for rave reviews. This dessert disappears fast!
The Ingredients You’ll Need
Here’s what you’ll need to create this delicious Biscoff banana pudding without the bananas:
- For the Custard:
- 3 cups Whole Milk (don’t skimp – the fat makes it creamy!)
- ¾ cup Granulated Sugar
- ¼ cup Cornstarch
- ½ teaspoon Salt
- 4 Large Egg Yolks (at room temperature)
- 2 Tablespoons Unsalted Butter
- 1 teaspoon Vanilla Extract
- For the Cookie Layer:
- 1 (16.5 ounce) package Biscoff Cookies (the original are best!)
- 2 Tablespoons Melted Butter (for brushing the cookies)
- For the Topping:
- 1 ½ cups Whipped Topping (like Cool Whip, thawed)
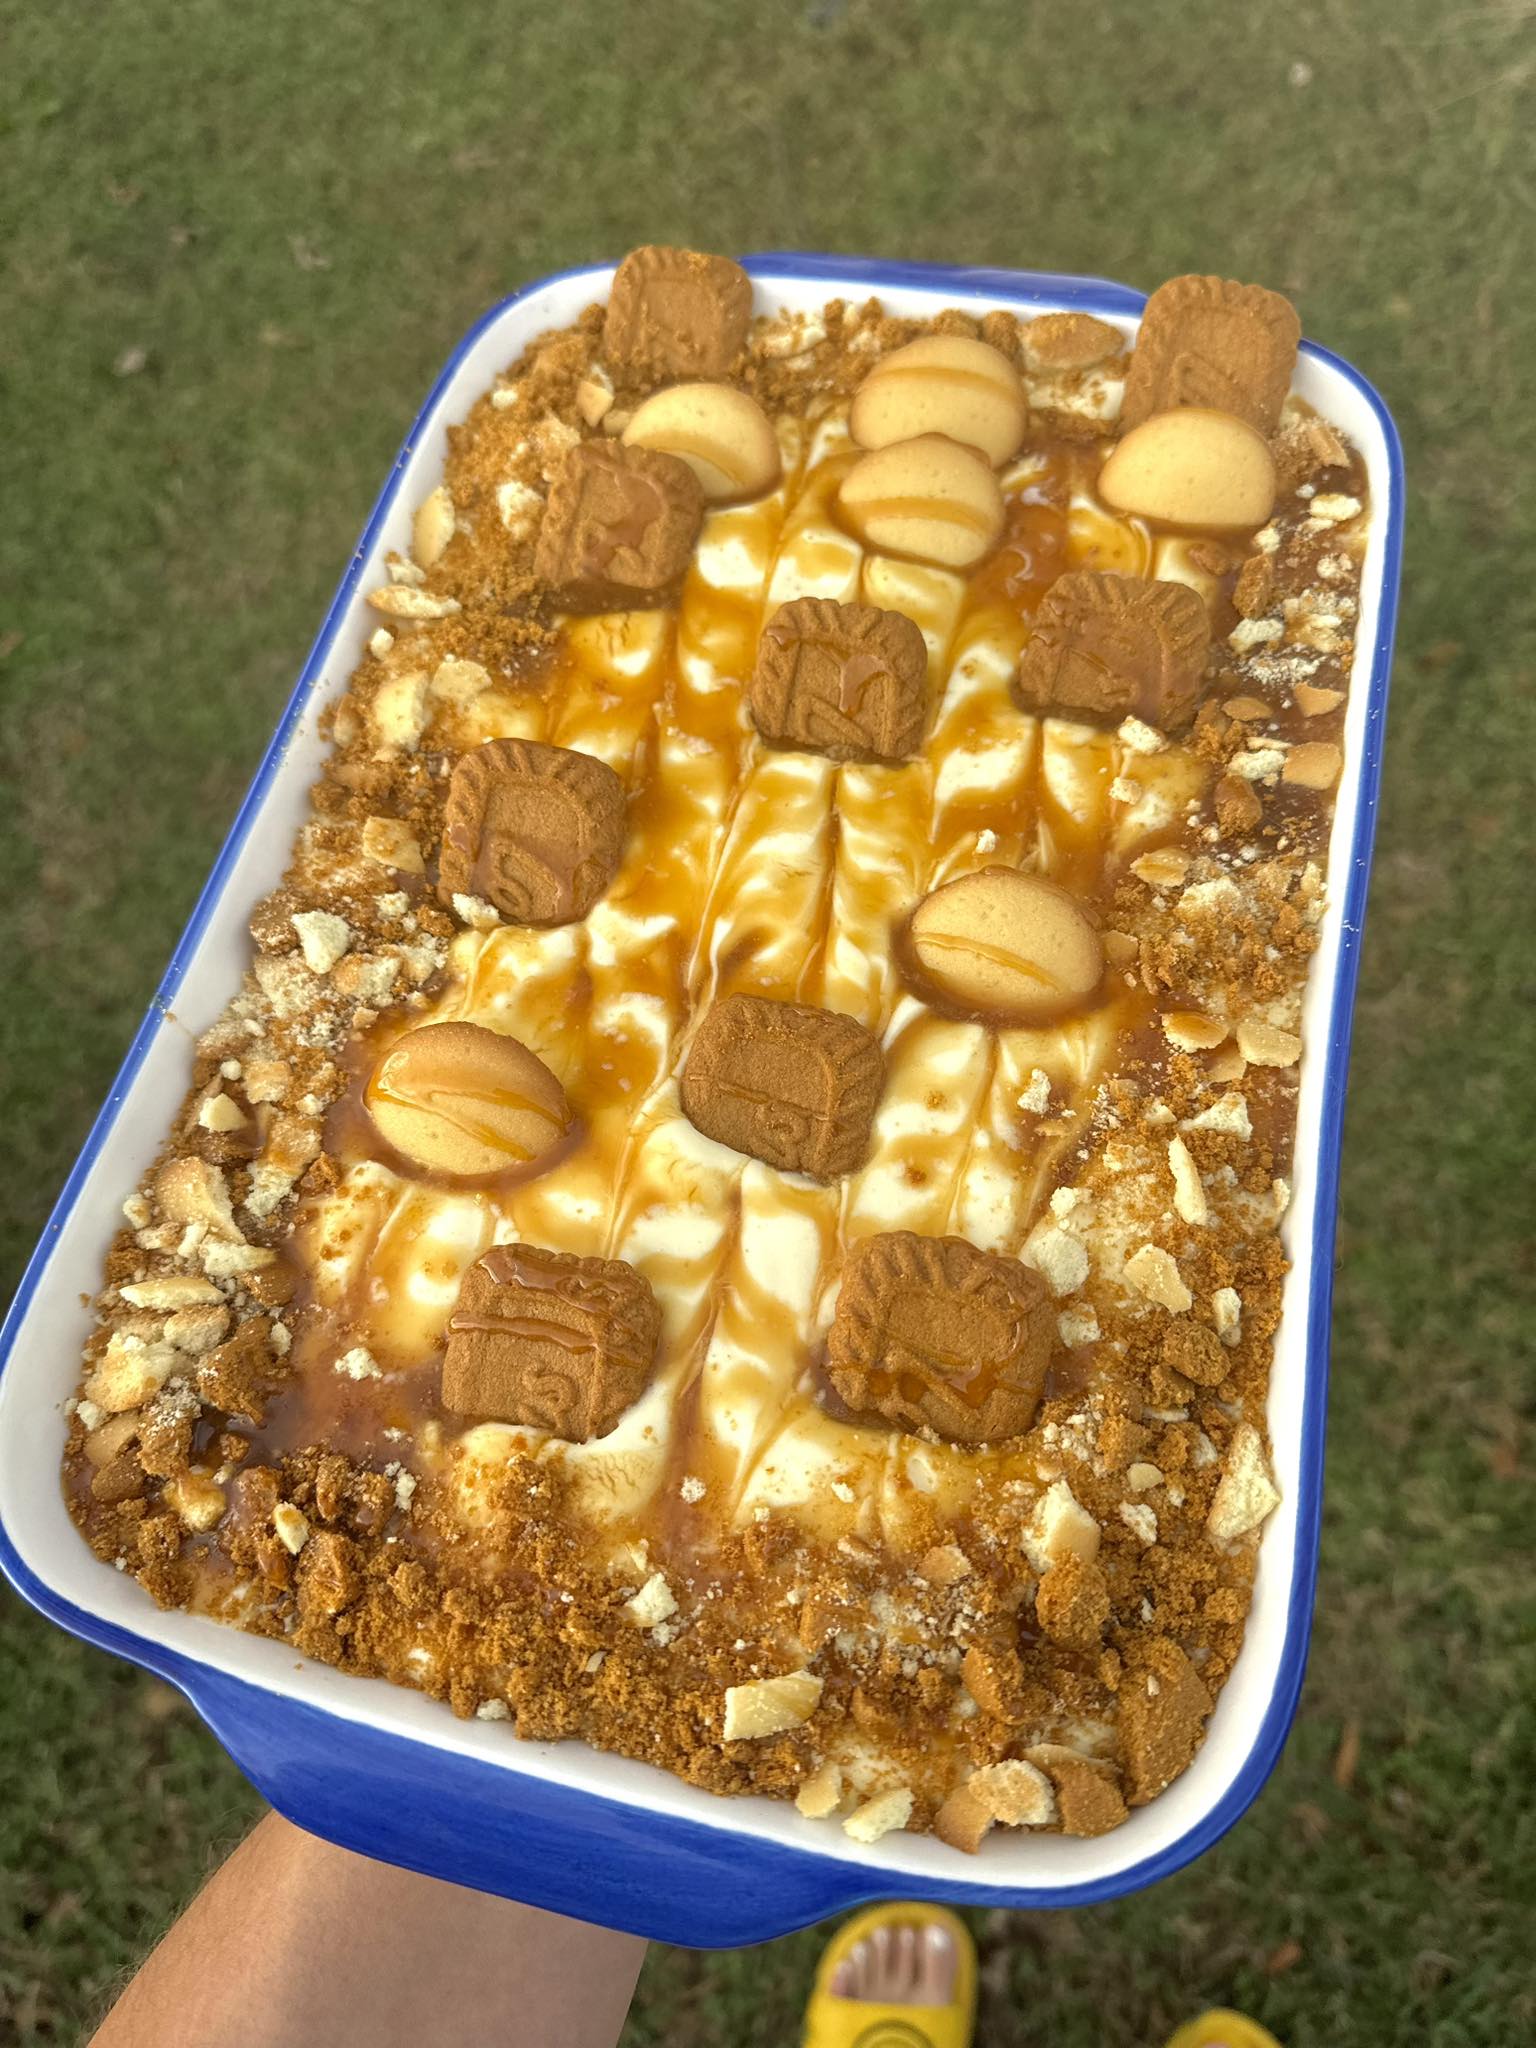
- 1 cup Crushed Biscoff Cookies (for garnish)
Let’s Get Cooking! Step-by-Step Instructions
This recipe is broken down into three simple steps: the custard, the cookie layer, and the assembly. Let’s dive in!
Step 1: Making the Dreamy Custard
- Heat the Milk: In a medium saucepan, combine the milk, sugar, cornstarch, and salt. Whisk well to ensure there are no lumps.
- Cook the Mixture: Heat over medium heat, stirring constantly with a whisk. Bring to a simmer, then reduce the heat to low. Continue stirring for 1-2 minutes, or until the mixture thickens slightly.
- Temper the Egg Yolks: While the milk mixture simmers, in a separate bowl, whisk the egg yolks until they are lightly beaten. Slowly drizzle about ½ cup of the hot milk mixture into the egg yolks, whisking constantly. This is called tempering – it prevents the eggs from scrambling.
- Combine Everything: Pour the tempered egg yolk mixture back into the saucepan with the remaining milk mixture. Increase the heat to medium and cook, whisking constantly, for 1-2 minutes, or until the custard thickens significantly and coats the back of a spoon.
- Finishing Touches: Remove the saucepan from the heat. Stir in the butter and vanilla extract until the butter is melted and the custard is smooth.
- Cool the Custard: Pour the custard into a bowl. Cover the surface directly with plastic wrap (this prevents a skin from forming). Refrigerate for at least 2 hours, or preferably longer, until completely chilled.
Step 2: Prepping the Biscoff Cookies
- Lightly Brush: Gently brush both sides of each Biscoff cookie with melted butter. This adds extra flavor and helps them soften slightly. Don’t soak them – just a light coating is perfect.
Step 3: Assembling the Pudding
- Layer 1: Cookies: In a 9×13 inch baking dish, arrange a single layer of Biscoff cookies on the bottom. You might need to break some cookies to fit snugly.
- Layer 2: Custard: Spread about ⅓ of the chilled custard evenly over the cookie layer.
- Repeat: Repeat the cookie and custard layers two more times, ending with a layer of custard on top.
- Chill Out: Cover the dish with plastic wrap and refrigerate for at least 4 hours, or preferably overnight. This allows the cookies to soften and the flavors to meld together.
- The Final Flourish: Just before serving, spread the whipped topping evenly over the custard layer. Sprinkle generously with the crushed Biscoff cookies.
Tips, Variations & Serving Suggestions
Here’s how to take your Biscoff banana pudding without the bananas to the next level!
- Cookie Crunch: For a crunchier cookie layer, use fewer cookies per layer, allowing for more air between them.
- Extra Biscoff Flavor: Add a tablespoon of Biscoff spread to the custard while it’s cooling.
- Spice It Up: Add a pinch of ground cinnamon or nutmeg to the custard for an extra layer of warmth.
- Individual Cups: Make individual parfaits by layering the cookies and custard in clear glasses – they look beautiful!
- Whipped Cream Alternative: If you’re not a whipped topping fan, freshly whipped cream is a delightful substitute.
- Storage: Leftovers (if there are any!) can be stored in the refrigerator for up to 2 days. The cookies will become softer over time.
(Optional) Nutritional Information (approximate per serving – varies based on ingredients)
- Calories: 450-550
- Fat: 20-25g
- Carbohydrates: 60-70g
- Protein: 5-7g
(Disclaimer: This is an estimate and can vary.)
Give it a Try – You Won’t Be Disappointed!
Seriously, what are you waiting for? This Biscoff banana pudding without the bananas is an instant classic that everyone will adore. The combination of creamy custard, spiced cookies, and that satisfying crunch is simply irresistible. Don’t be intimidated by the custard – it’s easier than it looks! Grab your ingredients, follow these simple steps, and prepare to impress. Happy baking (and eating)!
