
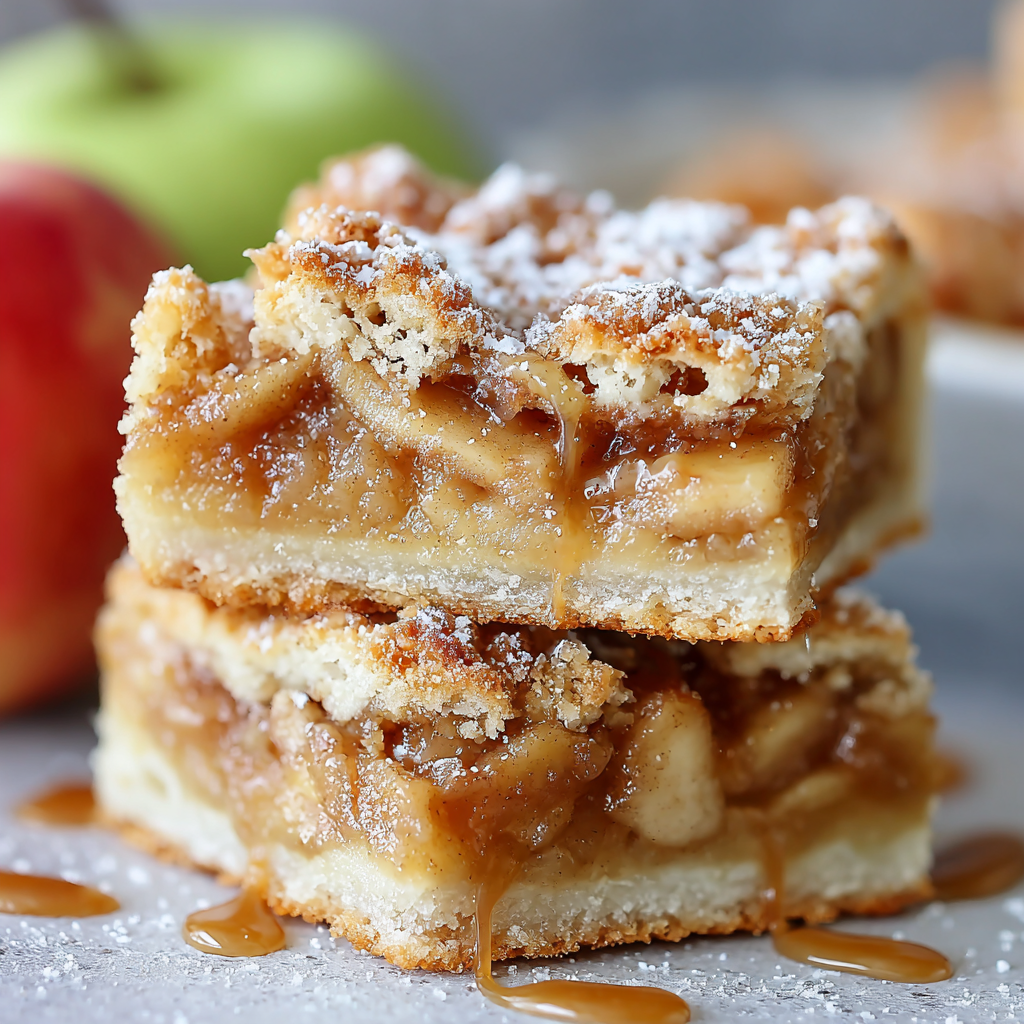
The smell of apples baking. That’s pure comfort, isn’t it? I remember my grandmother’s kitchen, always filled with that warm, spicy aroma. She’d be making her famous apple pie, a masterpiece of flaky crust and juicy filling. Lately, I’ve been craving that feeling, but with a little less fuss. That’s where these Buttery Apple Pie Bars with a Flaky Crust came to be. They capture all the magic of a traditional pie in a convenient, easily shareable bar form. Get ready for a taste of autumn joy!
Why You’ll Love These Apple Pie Bars
Forget the rolling pin anxiety! These bars are surprisingly simple to make. Seriously. Anyone can whip them up. Here’s why you’ll be reaching for this recipe again and again:
- Flaky, Buttery Crust: The secret to a great bar is a great crust. This recipe delivers – light, crispy, and with that irresistible buttery flavor.
- Sweet and Tart Apple Filling: We’re using a mix of apple varieties to balance sweetness with a touch of tartness. It’s a flavor explosion in every bite.
- Easy to Make: No complicated techniques or specialized equipment needed. This is perfect for beginner bakers.
- Portable & Shareable: Pie is lovely, but bars are perfect for potlucks, picnics, or simply enjoying with friends and family.
- Make-Ahead Friendly: You can assemble these ahead of time and bake just before serving.
The Ingredient List: Your Baking Essentials
Let’s gather everything we need. Don’t worry, most of these are probably already in your pantry!
For the Crust (Makes a Double Crust – half for the base, half for topping):
- 2 ½ cups all-purpose flour, plus extra for dusting
- 1 teaspoon salt
- 1 cup (2 sticks) unsalted butter, very cold and cut into cubes
- ½ cup ice water
For the Apple Filling:
- 6 medium apples (a mix of Granny Smith, Honeycrisp, and Gala work wonderfully), peeled, cored, and sliced thinly (about 6-8 cups)
- ½ cup granulated sugar
- ¼ cup packed light brown sugar
- 2 tablespoons all-purpose flour
- 1 teaspoon ground cinnamon
- ½ teaspoon ground nutmeg
- ¼ teaspoon ground allspice
- 2 tablespoons lemon juice
- 2 tablespoons unsalted butter, melted
For the Crumble Topping (Optional but Highly Recommended!):
- ½ cup all-purpose flour
- ¼ cup packed light brown sugar
- ¼ cup cold unsalted butter, cut into small pieces
- ½ teaspoon ground cinnamon
Step-by-Step Cooking Instructions: Let’s Bake!
Okay, let’s get baking! Don’t feel intimidated – we’ll take it one step at a time.
1. Make the Crust:
- In a large bowl, whisk together the flour and salt.
- Add the cold, cubed butter. Using a pastry blender or your fingertips (work quickly!), cut the butter into the flour until the mixture resembles coarse crumbs. You want to see little pieces of butter still!
- Gradually add the ice water, 1 tablespoon at a time, mixing gently after each addition. Stop adding water when the dough just comes together. Don’t overmix!
- Divide the dough in half, flatten each half into a disc, wrap tightly in plastic wrap, and refrigerate for at least 30 minutes (or up to 2 hours). This chilling is crucial for a flaky crust.
2. Prepare the Apple Filling:
- In a large bowl, combine the sliced apples, granulated sugar, brown sugar, flour, cinnamon, nutmeg, and allspice.
- Stir gently to coat the apples evenly.
- Add the lemon juice and melted butter, and toss again. This prevents browning and adds extra flavor.
3. Assemble the Bars:
- Preheat your oven to 375°F (190°C).
- Lightly grease a 9×13 inch baking pan.
- On a lightly floured surface, roll out one disc of dough into a rectangle slightly larger than your baking pan.
- Carefully transfer the dough to the prepared pan and press it firmly into the bottom. Trim any excess dough that hangs over the edges.
- Pour the apple filling into the crust-lined pan, spreading it evenly.
- Roll out the second disc of dough. You can either cut it into strips to create a lattice top (a bit more advanced) or simply cut it into squares to place on top of the apple filling. For even simpler, you can skip the second crust and move directly to the crumble topping.
4. Make the Crumble Topping (Optional):
- In a small bowl, combine the flour, brown sugar, and cinnamon.
- Cut in the cold butter using a pastry blender or your fingers until the mixture forms coarse crumbs.
- Sprinkle the crumble topping evenly over the apple filling.
5. Bake & Cool:
- Bake in the preheated oven for 45-55 minutes, or until the crust is golden brown and the filling is bubbly. If the crust edges are browning too quickly, tent them with aluminum foil.
- Let the bars cool completely in the pan before cutting into squares. This is super important – they’ll be much easier to slice and more set. Warm bars are delicious, but prone to crumbling!
Tips, Variations & Serving Suggestions
Let’s take these Bars to the next level!
- Apple Variety: Experiment with different apple combinations. Braeburn and Pink Lady are also delicious choices.
- Spice It Up: Add a pinch of ground cloves or a dash of cardamom to the filling for extra warmth.
- Lemon Zest: Grate a teaspoon of lemon zest into both the filling and the crumble topping for a brighter flavor.
- Nuts: Add ½ cup of chopped pecans or walnuts to the crumble topping for extra texture and flavor.
- Caramel Drizzle: Drizzle with warm caramel sauce after baking. Need I say more?
- Serving Suggestions: Serve these bars warm or at room temperature. They’re delicious on their own, or with a scoop of vanilla ice cream or a dollop of whipped cream. For a cozy autumn treat, pair with a hot cup of cider or coffee.
Nutritional Information (approximate, per bar – will vary based on size)
- Calories: 350-450
- Fat: 18-25g
- Saturated Fat: 10-15g
- Carbohydrates: 45-55g
- Sugar: 25-35g
- Protein: 3-5g
Disclaimer: These values are estimates and can vary depending on the specific ingredients used and portion size.
Ready to Bake Your Way to Autumn Bliss?
Making Buttery Apple Pie Bars with a Flaky Crust is a rewarding experience. They are a guaranteed crowd-pleaser and a comforting reminder of home. Don’t be afraid to try the recipe – you might just discover your new favorite fall dessert! Give it a go and let me know how they turn out. Happy Baking!
