
The scent of cinnamon and apples baking… It instantly transports me back to my grandmother’s kitchen. She always had something warm and comforting coming out of the oven, and apple pie was a guaranteed favorite. But let’s be honest, cutting a slice of warm pie can be a mess. Crumbs everywhere! That’s why I’ve perfected this Delicious Apple Pie Bars Recipe – Easy & Irresistible! – all the cozy flavors of a classic apple pie, but in a neat, portable bar form. Trust me, these disappear fast!
Why You’ll Love These Apple Pie Bars
These aren’t your average dessert bars. Here’s why they deserve a spot in your baking arsenal:
- Easy to Make: Seriously! This recipe is straightforward, even for beginner bakers. No complicated techniques needed.
- Perfect Texture: A buttery, crumbly shortbread crust cradles a sweet-tart, gooey apple filling. It’s truly the best of both worlds.
- Portable & Shareable: Forget the pie plate. These bars are perfect for taking to potlucks, picnics, or simply enjoying with a cup of coffee.
- Classic Comfort: They capture the warm, nostalgic taste of a homemade apple pie. Everyone loves apple pie!
- Customizable: Want more cinnamon? A hint of caramel? These bars are easily adaptable to your preferences (more on that later!).
The Ingredients You’ll Need
Let’s break down what you’ll need for these incredibly delicious bars. Don’t worry, it’s all simple stuff!
For the Shortbread Crust:
- 1 ½ cups (192g) all-purpose flour
- ½ cup (113g) unsalted butter, cold and cubed
- ¼ cup (50g) granulated sugar
- ¼ teaspoon salt
For the Apple Filling:
- 6 medium apples (Granny Smith, Honeycrisp, or a mix!), peeled, cored, and diced – about 4 cups
- ½ cup (100g) granulated sugar
- ¼ cup (4 tbsp) unsalted butter
- 2 tablespoons all-purpose flour
- 1 teaspoon ground cinnamon
- ¼ teaspoon ground nutmeg
- 1 tablespoon lemon juice
- 1/4 cup (30g) chopped walnuts or pecans (optional – for some crunch!)
For the Egg Wash (Optional, for a golden crust):
- 1 large egg
- 1 tablespoon milk
Let’s Get Baking: Step-by-Step Instructions
Ready to transform these ingredients into a delightful treat? Here’s how:
Step 1: Making the Shortbread Crust
- Combine Dry Ingredients: In a medium bowl, whisk together the flour, sugar, and salt.
- Cut in the Butter: Add the cold, cubed butter to the flour mixture. Use a pastry blender or your fingertips to cut the butter into the flour until the mixture resembles coarse crumbs. The key here is to keep the butter cold – it creates a flaky crust. Don’t overwork it!
- Press into the Pan: Press the crumbs evenly into the bottom of an 8×8 inch baking pan lined with parchment paper (this makes removing the bars so much easier!). Don’t worry about perfection; a slightly rustic look is charming.
- Pre-Bake: Bake the crust at 350°F (175°C) for 10-12 minutes, or until lightly golden. Let it cool slightly while you prepare the filling.
Step 2: Preparing the Apple Filling
- Melt the Butter: In a large skillet over medium heat, melt the ¼ cup of butter.
- Add Apples and Sugar: Add the diced apples and ½ cup of sugar to the skillet. Cook, stirring occasionally, for about 5-7 minutes, or until the apples start to soften slightly. They don’t need to be fully cooked – they’ll finish baking in the oven.
- Thicken the Filling: Sprinkle the 2 tablespoons of flour over the apples and stir to coat evenly. This will help thicken the filling as it bakes.
- Spice it Up: Add the cinnamon, nutmeg, and lemon juice. Stir well to combine. If using nuts, fold them in now.
- Simmer Briefly: Let the apple mixture simmer for another minute or two, until it slightly thickens. Remove from heat.
Step 3: Assembling and Baking the Bars
- Pour the Filling: Pour the apple filling evenly over the pre-baked crust.
- Egg Wash (Optional): In a small bowl, whisk together the egg and milk. Brush the top of the apple filling with the egg wash for a beautiful golden crust.
- Bake: Bake for 25-30 minutes, or until the filling is bubbling and the crust is golden brown.
- Cool Completely: Let the bars cool completely in the pan before lifting them out using the parchment paper. This is crucial for clean cuts and a less gooey filling. Cooling takes about an hour (or longer!).
- Cut and Serve: Cut the bars into squares and enjoy!
Tips, Variations, and Serving Suggestions
Want to take your apple pie bars to the next level? Here are some ideas:
- Apple Variety: Experiment with different apple varieties! Granny Smith provides a tartness, Honeycrisp offers sweetness, and Fuji are wonderfully crisp. A mix of varieties is always a winner.
- Spice It Up Further: Add a pinch of ground cloves or allspice to the apple filling for a warmer, more complex flavor.
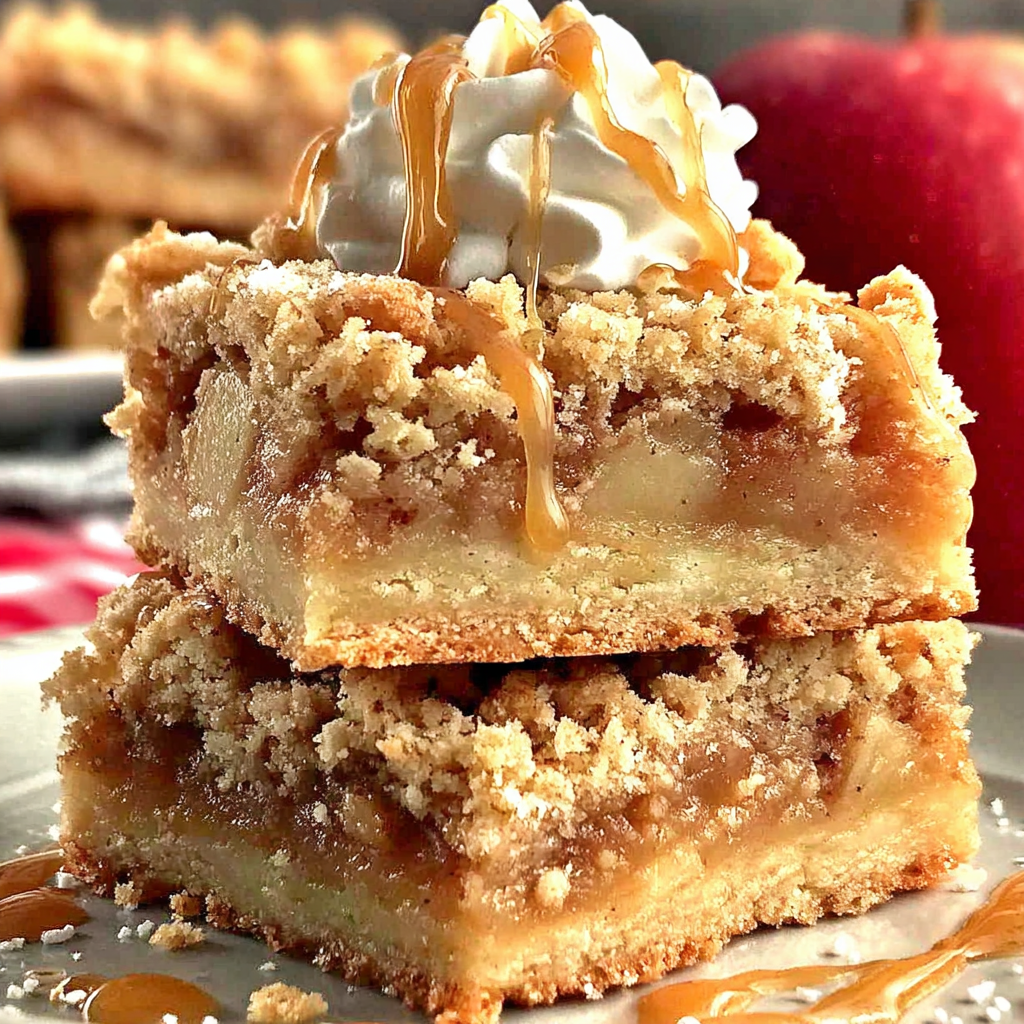
- Caramel Drizzle: Drizzle a store-bought or homemade caramel sauce over the cooled bars for an extra touch of indulgence.
- Streusel Topping: For a classic streusel topping, combine ½ cup flour, ¼ cup brown sugar, ¼ cup cold butter (cut into pieces), and ¼ teaspoon cinnamon. Sprinkle over the apple filling before baking.
- Brown Butter Crust: Elevate your crust by browning the butter before adding it to the flour mixture.
- Serving Suggestions: Enjoy these bars with a scoop of vanilla ice cream, a dollop of whipped cream, or a warm cup of apple cider.
(Optional) Nutritional Information (Approximate, per bar – based on 12 bars per pan)
- Calories: 350-400
- Fat: 18-22g
- Saturated Fat: 10-12g
- Carbohydrates: 45-50g
- Sugar: 25-30g
- Protein: 3-4g
Please note: This is an estimate and can vary depending on the ingredients used.
These Delicious Apple Pie Bars Recipe – Easy & Irresistible! are proof that you don’t need to spend hours in the kitchen to create something truly special. The warm, comforting flavors and satisfying texture are guaranteed to impress. So, preheat your oven, gather your ingredients, and get ready to bake a little bit of happiness! Don’t be shy, give this recipe a try – your taste buds (and your friends and family!) will thank you. Happy baking!
