
The scent of pumpkin spice. Crisp autumn leaves. Cozy evenings spent wrapped in a blanket. Fall is the season for comforting flavors, and what’s more comforting than cheesecake? But who has hours to bake a whole cheesecake? Not me! That’s why I’m so excited to share this Easy No Bake Pumpkin Cheesecake Balls Recipe with you. Seriously, these little bites of heaven are ridiculously simple to make and packed with all the warm, cozy goodness you crave. I remember years ago, my grandmother used to make these for Thanksgiving. They vanished faster than you could say “pumpkin pie!” This version captures that same nostalgic feeling, but with a modern, bite-sized twist.
Why You’ll Love These Pumpkin Cheesecake Balls
Let’s be honest, life is busy. This recipe fits seamlessly into that reality. Here’s why you’ll fall head over heels for these no-bake treats:
- No Baking Required: That’s right! No oven needed. Perfect for those hot fall days or when you just don’t feel like heating up the kitchen.
- Super Easy to Make: Even if you’re a baking novice, you can nail this. The steps are straightforward and require minimal effort.
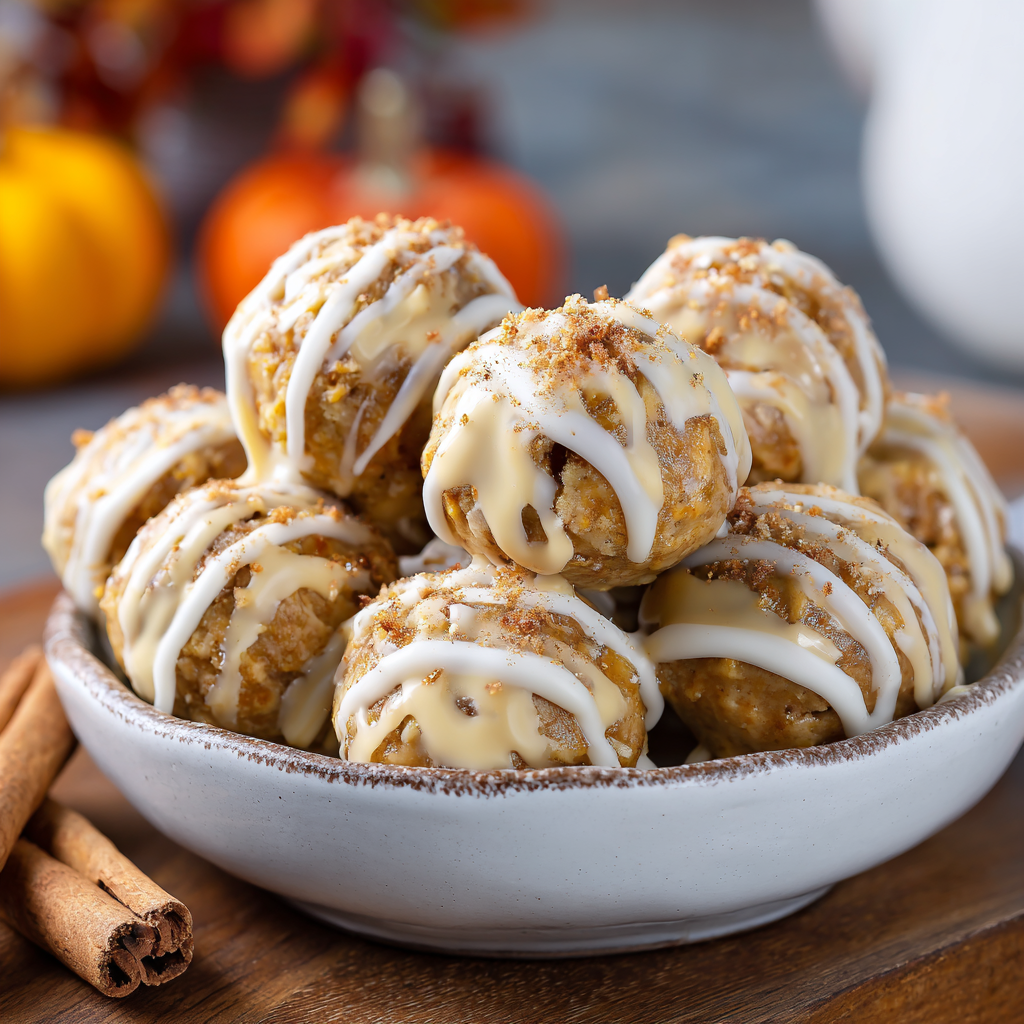
- Bursting with Fall Flavor: The combination of creamy cheesecake, smooth pumpkin puree, and warming spices is pure autumn bliss.
- Perfect for Entertaining: These cheesecake balls are adorable, easy to eat, and always a crowd-pleaser. They’re ideal for parties, potlucks, or just a sweet treat for yourself.
- Make-Ahead Friendly: They’re even BETTER after they chill! You can make them a day or two in advance, which takes the stress out of last-minute dessert needs.
The Ingredient List: What You’ll Need
Here’s a breakdown of everything you’ll require to create these delightful pumpkin cheesecake balls. Don’t worry, most of these are pantry staples!
- Cream Cheese: 8 ounces (226g), softened to room temperature. This is crucial for a smooth, creamy texture!
- Pumpkin Puree: 1 cup (240g). Don’t use pumpkin pie filling! You want puree – just pumpkin, nothing else.
- Powdered Sugar: 1 ½ cups (180g), sifted. Sifting prevents lumps and ensures a smooth filling.
- Butter: ½ cup (113g), softened to room temperature. Adds richness and helps bind the ingredients.
- Vanilla Extract: 1 teaspoon. Enhances the overall flavor.
- Pumpkin Pie Spice: 1 ½ teaspoons. The quintessential fall spice blend!
- Graham Crackers: 1 ½ cups (about 12 full graham crackers), finely crushed. You can use a food processor for this or put them in a ziplock bag and crush with a rolling pin.
- Optional Coating:
- Finely Chopped Pecans: ½ cup, for a nutty crunch.
- Shredded Coconut: ½ cup, toasted, for a tropical twist.
- Mini Chocolate Chips: ½ cup, because chocolate makes everything better, right?
- Graham Cracker Crumbs (extra): For a double dose of graham cracker goodness!
Step-by-Step Instructions: Let’s Get Rolling!
Okay, let’s get baking… I mean, not baking! Here’s how to whip up these incredible pumpkin cheesecake balls:
1. Cream Together the Base:
- In a large mixing bowl, beat the softened cream cheese and butter together until light and fluffy. This usually takes about 2-3 minutes with an electric mixer. Scrape down the sides of the bowl as needed.
2. Add the Pumpkin & Flavorings:
- Add the pumpkin puree, vanilla extract, and pumpkin pie spice to the cream cheese mixture. Beat until well combined and smooth. Don’t overmix!
3. Sweeten the Deal:
- Gradually add the sifted powdered sugar, one-third at a time, beating well after each addition. Be careful not to add too much at once, as it can create a powdery texture. Aim for a thick, creamy consistency.
4. Incorporate the Graham Crackers:
- Gently fold in the crushed graham crackers until just combined. Don’t overmix. You want the mixture to hold its shape, but not be tough.
5. Chill Out:
- Cover the bowl with plastic wrap and refrigerate for at least 30 minutes (or up to 2 hours). This allows the mixture to firm up, making it much easier to roll.
6. Roll into Balls:
- Once chilled, scoop out rounded tablespoons of the mixture. Roll each spoonful between your palms to form 1-inch balls.
7. Coat with Goodness:
- Place your chosen coating (pecans, coconut, chocolate chips, or extra graham cracker crumbs) in separate shallow dishes. Roll each cheesecake ball in the coating of your choice, ensuring it’s evenly coated.
8. Final Chill:
- Place the finished cheesecake balls on a parchment-lined baking sheet. Refrigerate for at least 30 minutes to allow them to set completely.
Tips, Variations, and Serving Suggestions
Here are some extra ideas to level up your pumpkin cheesecake ball game:
- Spice It Up: Add a pinch of cayenne pepper for a little kick!
- Mini Chocolate Chips Inside: Before rolling, place a mini chocolate chip in the center of each ball for a surprise treat.
- Caramel Drizzle: Drizzle with melted caramel sauce before chilling for extra sweetness.
- Gingerbread Spice: Swap the pumpkin pie spice for gingerbread spice for a different fall flavor profile.
- Presentation is Key: Arrange the cheesecake balls on a decorative platter or in mini cupcake liners for a polished look.
- Serving Suggestions: Serve chilled. They’re delicious on their own, with coffee, tea, or alongside a slice of apple pie.
(Optional) Nutritional Information (per ball, approximate)
- Calories: 90-110
- Fat: 6-8g
- Saturated Fat: 4-5g
- Carbohydrates: 9-12g
- Sugar: 6-8g
- Protein: 1-2g
(Please note that these values are estimates and can vary based on ingredients used)
Give it a Try & Enjoy the Fall Flavors!
So, what are you waiting for? This Easy No Bake Pumpkin Cheesecake Balls Recipe is a guaranteed hit. It’s simple, delicious, and the perfect way to embrace the flavors of fall. Don’t be intimidated by the idea of making cheesecake – this version proves how easy it can be. Take a break from the oven, gather your ingredients, and get ready to enjoy these delightful little bites. I hope you love them as much as I do! Let me know in the comments how they turn out and what variations you tried. Happy baking (or, rather, not baking)!
