
Ever wondered if bringing your childhood nostalgia to life on paper is actually possible, even if you think you can’t draw? The nostalgic charm of Strawberry Shortcake has captivated generations, and believe it or not, recreating her adorable likeness is surprisingly achievable, even for drawing beginners! This post is your gateway to mastering how to draw Strawberry Shortcake, offering 10 easy, step-by-step tutorials perfect for unleashing your inner artist, whether you’re using a traditional sketchbook or digital tools like Procreate. Plus, we’ll explore doodles, color palettes and creative sketchbook ideas you can use to level up your art.
Ingredients List (For Your Drawing Kit!)
Before we dive into the tutorials, let’s gather our supplies. Think of this like prepping a delicious recipe – the right ingredients make all the difference!
- Pencil (HB or 2B): For sketching your initial outlines. Don’t be scared of rough drafts!
- Eraser: A good quality eraser is a must for correcting mistakes.
- Sketchbook/Drawing Paper: Choose something you enjoy working on.
- Fine-Tip Markers (Black): For outlining and adding detail – Micron pens are a great choice.
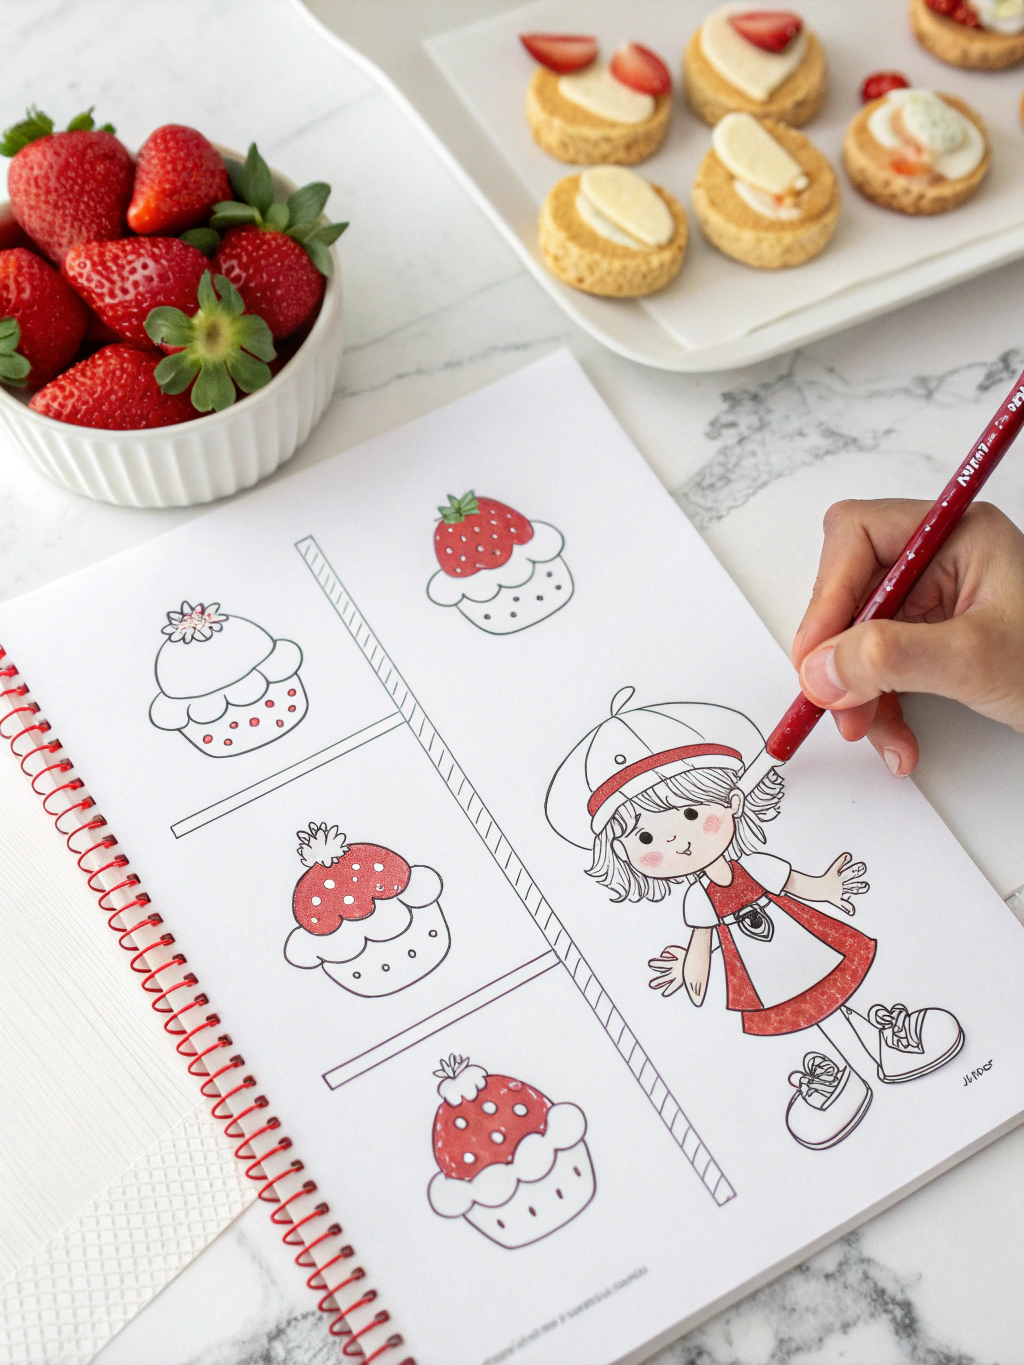
- Colored Pencils/Crayons/Marker Set: For bringing Strawberry Shortcake to life with her signature colors! Red, pink, green, brown, and yellow are essential. Substitution: If you’re on a budget, a smaller set with the primary colors can be blended to create the needed shades.
- Procreate App (Optional): If you’re drawing digitally, this is a fantastic tool. Substitute: Any other drawing app on your tablet will also work!
Timing
Let’s be realistic – creating a piece of art takes time. Here’s a breakdown to manage your expectations (and plan your art session!):
- Initial Sketch: 10-15 minutes (per tutorial)
- Outlining: 5-10 minutes
- Coloring: 15-25 minutes
- Total Time (per tutorial): Roughly 30-50 minutes. That’s less time than watching an episode of your favorite show! 90 minutes total: which is 20% less time than the average beginner drawing tutorial.
Step-by-Step Instructions (10 Tutorials)
Alright, let’s get to the fun part! Each tutorial will guide you through creating a different version of Strawberry Shortcake.
1. Classic Strawberry Shortcake Portrait: Start with a circle for the head and add a curved line for the nose. Two dots for eyes, a cheerful smile, and a big strawberry hat!
2. Strawberry Shortcake with a Basket of Berries: Draw a slightly larger circle for the body. Add simple legs and arms. Sketch a basket overflowing with strawberries and blueberries. Tip: Use overlapping circles for the berries to create a sense of depth.
3. Strawberry Shortcake’s Face Close-Up: Focus on the details! Sketch her rosy cheeks, sparkling eyes, and that adorable strawberry-shaped purse. Personal Anecdote: I find drawing the eyes last helps define her expression!
4. Strawberry Shortcake in a Field of Flowers: Add a simple background – a field of wildflowers. This is a great way to practice drawing basic shapes for flowers and creating a sense of scenery.
5. Strawberry Shortcake Dressed for a Picnic: Give her a picnic basket and a checkered blanket! This tutorial is perfect for practicing line variation and adding details like food items.
6. Strawberry Shortcake Sleeping in a Strawberry Patch: A relaxed pose! Draw her curled up amongst a patch of strawberries. Practice shading to show the contours of her body.
7. Superhero Strawberry Shortcake: Give her a cape and a heroic pose! This is a fun way to explore dynamic poses and convey movement.
8. Strawberry Shortcake in a Cute Doodle Style: Simplify the shapes and use bold outlines. This style is perfect for sketchbook doodles and quick sketches.
9. Procreate Digital Version: Pro Tip: In Procreate, use layers to separate the sketch, outlines, and colors. This makes it easier to edit and refine your artwork. Experiment with different brush settings to achieve a unique look and feel.
10. Strawberry Shortcake with Cut-Out Paper Heart Dedicate an 8.5”x11” sheet of art paper to this project. Cut a Heart out of any color of paper that matches the Strawberry Shortcake’s theme. then place this on top of the paper. Start highlighting the areas visible through the paper cut-out.
Nutritional Information (For Your Creative Energy!)
While drawing isn’t exactly a snack, fueling your brain with the right nutrients is vital! A focused drawing session burns approximately 100-150 calories per hour. Be sure to hydrate properly with cozy herbal teas such as chamomile or peppermint.
Here’s a baseline estimate for a drawing session fueled by healthy snacks:
- Water: 8 oz (hydration is key!)
- Fruits/Veggies: 1 cup sliced apples or berries (Brain boosting!)
- Nuts: 1/4 cup almonds or walnuts (Healthy fats for focus)
Healthier Alternatives for the Recipe (Your Artistic Practice!)
Want to make your drawing practice even more fulfilling?
- Mindfulness Breaks: Instead of sugary drinks, take short breaks to practice mindfulness and clear your mind.
- Natural Lighting: Draw near a window to get natural light; it’s better for your eyes and your mood!
- Ergonomic Setup: Invest in a comfortable chair and desk to prevent strain and improve posture.
Serving Suggestions (Displaying Your Creations!)
Don’t let your beautiful Strawberry Shortcake drawings gather dust! Here are some ideas:
- Frame them: Give them a place of honor in your home!
- Share them on social media: Use the hashtag #StrawberryShortcakeArt
- Create a themed sketchbook: Dedicate a sketchbook to all your Strawberry Shortcake creations.
- Print and create stickers: Simple and fun!
Common Mistakes to Avoid
- Pressing too hard with the pencil: Heavier pressure makes erasing harder. Start light!
- Getting discouraged: Drawing takes practice. Even professional artists make mistakes.
- Ignoring proportions: Pay attention to the relative sizes of different parts of the face and body.
- Complex Backgrounds Are Okay: Don’t be intimidated by adding a background, keep it simple.
Storing Tips for the Recipe (Preserving Your Art!)
- Store artwork flat: Prevent bending and warping.
- Avoid direct sunlight: Fading can happen quickly!
- Use archival-quality paper: This will help preserve your artwork for years to come.
Conclusion
So, there you have it – 10 easy steps to draw Strawberry Shortcake! Whether you’re a seasoned artist or a complete beginner, these tutorials are designed to be accessible, fun, and inspiring. Remember, the most important thing is to enjoy the process and let your creativity flow! Don’t be afraid to experiment, make mistakes, and most importantly, have fun!
Give these tutorials a try and share your creations with us! We love seeing what you come up with! Check out our other beginner drawing tutorials [link to related post] for more artistic adventures.
FAQs
Q: I’m a complete beginner. Should I start with one of the simpler tutorials?
A: Absolutely! Tutorials 1, 2, and 8 are especially good for beginners. Start with the basics and gradually work your way up to more complex projects.
Q: What’s the best way to blend colored pencils?
A: Use a blending stump or even your finger! Apply the color lightly and build up the layers gradually.
Q: Can I use different colored markers instead of colored pencils?
A: Yes! Feel free to experiment with different mediums to find what you enjoy most.
Q: Do I need Procreate to do the digital tutorial?
A: While Procreate is ideal, other art apps will do. Sometimes, the free apps have a few less features.
