
I still remember the smell. Warm vanilla, melting chocolate, and that unmistakable sugary aroma that drifted from my grandma’s kitchen. She baked the best chocolate chip cookies. They were thick, chewy, and had this incredible contrast – crispy edges that practically shattered with each bite and a gloriously gooey center that clung to your teeth. Recreating that magic has been a culinary mission of mine for years. And I think I’ve finally cracked the code! This recipe delivers Ultra Thick Bakery Style Chocolate Chip Cookies – Crispy Edges, Gooey Centers, just like you get from your favorite bakery. Forget thin & flat – these are substantial, decadent, and utterly irresistible.
Why You’ll Love These Cookies
Let’s be honest, everyone loves a good chocolate chip cookie. But these aren’t just good. They’re extraordinary. Here’s why you’ll be obsessed:
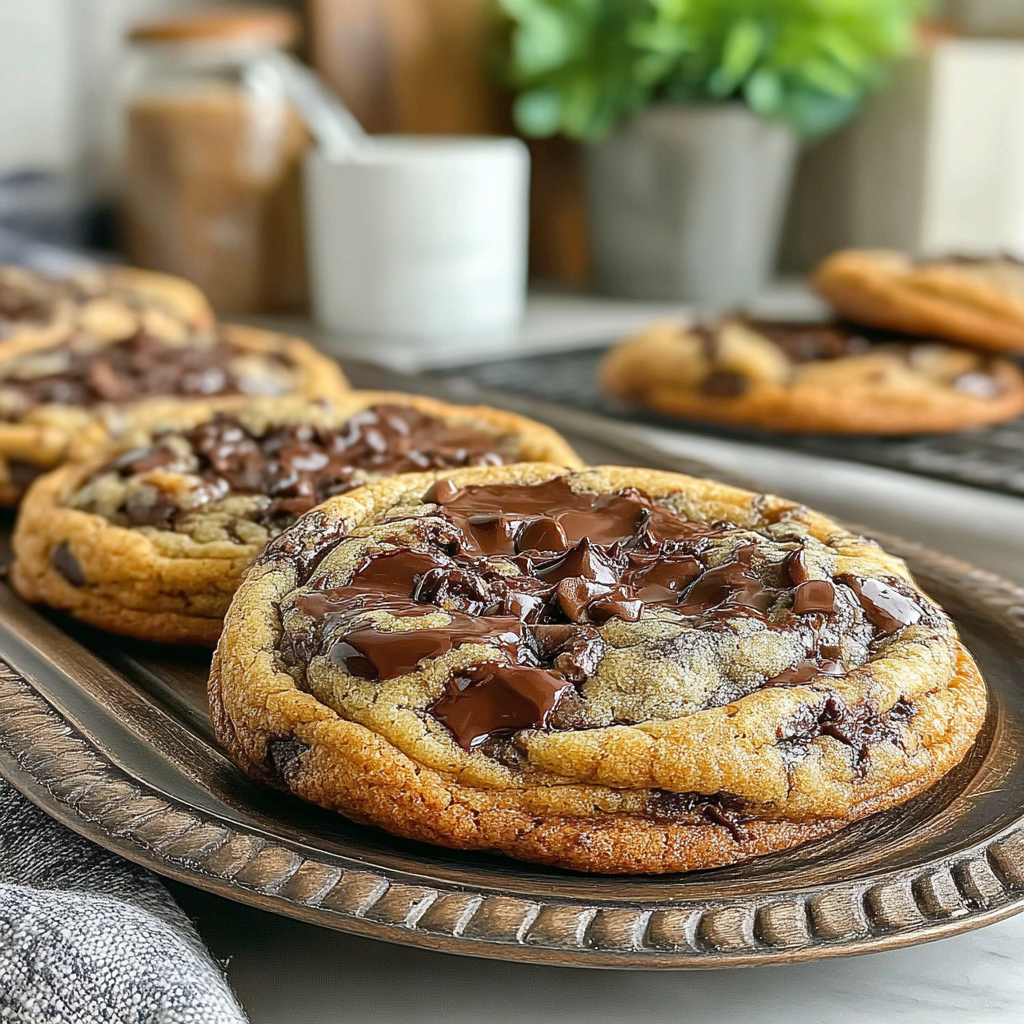
- That Perfect Texture: The defining characteristic! We’re aiming for that bakery magic – a crispy, slightly crackly exterior and a molten, chewy center. It’s a textural symphony.
- Seriously Thick: No more flimsy cookies that disappear in two bites. These are hearty, substantial, and satisfying.
- Rich Chocolate Flavor: We’re using a combination of chocolate chips and cocoa powder to build a deep, intense chocolate flavor.
- Surprisingly Easy (But with Secrets!): It looks intimidating, but the steps are straightforward. I’ll share all my tricks for cookie perfection.
- Impress Your Friends (and Yourself!): These cookies are guaranteed to be a hit. They look gorgeous, smell divine, and taste even better.
The Ingredient List – Your Cookie Arsenal
Here’s what you’ll need to create your masterpiece. Measurements are listed in US customary units.
- Butter: 1 cup (2 sticks/227g) unsalted, softened (really, softened – not melted!)
- Granulated Sugar: ¾ cup (150g)
- Brown Sugar: ¾ cup (165g) packed light brown sugar
- Large Eggs: 2 large
- Vanilla Extract: 2 teaspoons
- All-Purpose Flour: 2 ¼ cups (281g) – spooned and leveled (important!)
- Cornstarch: 2 tablespoons
- Baking Soda: 1 teaspoon
- Salt: 1 teaspoon
- Unsweetened Cocoa Powder: 2 Tablespoons (Dutch processed preferred, but regular works too)
- Chocolate Chips: 2 cups (about 340g) – I like a mix of semi-sweet and milk chocolate
- Optional: ¼ cup chopped walnuts or pecans (for added texture!)
Step-by-Step: Baking Your Cookie Dreams
Ready to get baking? Here’s how to achieve those ultimate thick, bakery-style chocolate chip cookies.
Step 1: Creaming the Butter & Sugars
This is crucial. In a large bowl (or the bowl of your stand mixer), beat the softened butter, granulated sugar, and brown sugar together until light and fluffy. This can take 3-5 minutes. Don’t skimp on this step! It incorporates air, which is key for a light and fluffy cookie. Scrape down the sides of the bowl periodically.
Step 2: Adding the Wet Ingredients
Beat in the eggs one at a time, then stir in the vanilla extract. Make sure each egg is fully incorporated before adding the next.
Step 3: The Dry Ingredients – Handle with Care
In a separate bowl, whisk together the flour, cornstarch, baking soda, salt, and cocoa powder. Whisking helps to evenly distribute the baking soda and salt.
Step 4: Combining Wet & Dry – Slowly, Slowly!
Gradually add the dry ingredients to the wet ingredients, mixing on low speed just until combined. Overmixing will develop the gluten in the flour, resulting in tough cookies. A few streaks of flour are okay!
Step 5: Chocolate Chip Power!
Stir in the chocolate chips (and nuts, if using). Mix until they’re evenly distributed throughout the dough.
Step 6: Chilling – The Secret Weapon
This is essential for thick cookies. Cover the bowl with plastic wrap and refrigerate the dough for at least 2 hours, or preferably overnight. This allows the flour to fully hydrate, resulting in a chewier cookie and prevents spreading in the oven.
Step 7: Baking Time!
Preheat your oven to 375°F (190°C). Line baking sheets with parchment paper. Scoop rounded tablespoons of dough onto the prepared baking sheets, leaving about 2 inches of space between each cookie.
Step 8: The Baking Magic
Bake for 9-12 minutes, or until the edges are golden brown and the centers still look slightly soft – they will continue to set as they cool. Don’t overbake! Underbaking is better than overbaking if you want gooey centers.
Step 9: Cool & Enjoy!
Let the cookies cool on the baking sheets for a few minutes before transferring them to a wire rack to cool completely. Seriously, let them cool! They’re fragile when they’re hot.
Tips, Variations & Serving Suggestions
Ready to elevate your cookie game? Here are some tips and ideas:
- Salted Butter: While the recipe calls for unsalted, you can use salted butter. Just reduce the added salt to ½ teaspoon.
- Brown Butter Boost: For an even deeper, more complex flavor, brown the butter before creaming it with the sugars.
- Espresso Powder: Add 1 teaspoon of espresso powder to the dry ingredients to enhance the chocolate flavor.
- Different Chocolate: Experiment with dark chocolate chips, white chocolate chips, or even chopped chunks of your favorite chocolate bar.
- Sea Salt Sprinkle: Sprinkle a pinch of flaky sea salt on top of the cookies immediately after they come out of the oven. The salty-sweet combination is divine!
- Serving Suggestions: Enjoy these cookies warm with a glass of milk, a scoop of vanilla ice cream, or a cup of hot chocolate. They also make amazing gifts!
Nutritional Information (Approximate, per cookie)
(Note: This is an estimate and will vary based on specific ingredients and cookie size.)
- Calories: 250-300
- Fat: 15-20g
- Saturated Fat: 8-12g
- Cholesterol: 35-45mg
- Sodium: 75-100mg
- Carbohydrates: 30-35g
- Sugar: 18-22g
- Protein: 2-3g
Your New Favorite Cookie Awaits!
There you have it! The secret to Ultra Thick Bakery Style Chocolate Chip Cookies – Crispy Edges, Gooey Centers, unlocked. This recipe really delivers on that perfect cookie experience. Don’t be intimidated by the chilling step – it’s worth it. Trust me. Now go ahead, preheat your oven, gather your ingredients, and bake up a batch of these delicious treats. I know you’ll love them as much as I do. Happy Baking!
